I’ve mentioned previously that I have taken on Denyse Schmidt’s snake trail quilt pattern as a long term project. I thought I’d share my thoughts on the process so far. I am really enjoying making this quilt.
-I don’t intend to sound negative right off the bat, but I think I’ve found some errata with the pattern pieces. As far as I can tell, pattern pieces A and B are supposed to vary slightly, but I have discovered that they are exactly the same. This is slightly frustrating because I was keeping track of the B pattern pieces I had cut and was making sure that I was only sewing them onto the ends of the arcs, as the pattern instructs. In a word, I was wasting time organizing pieces of fabric. Boo. I have since emailed the publisher and author for clarification and will report back if I hear back from them. I am discovering that the pattern is working out fine without the slightly altered B piece, so I’m not really concerned.
-I am hand- and machine- piecing this quilt. I have cut thin strips of fabric to use as a guide for my seam allowance when I am hand-piecing. These thin strips of fabric are the exact same width of the seam allowance that is created when I use the quarter inch foot on my machine. I’ve discovered that my quarter inch foot sews a generous quarter inch seam, rather than the typically recommended scant quarter inch seam. The small strips of fabric ensure that my seam allowances are uniform, whether I am hand- or machine- piecing.
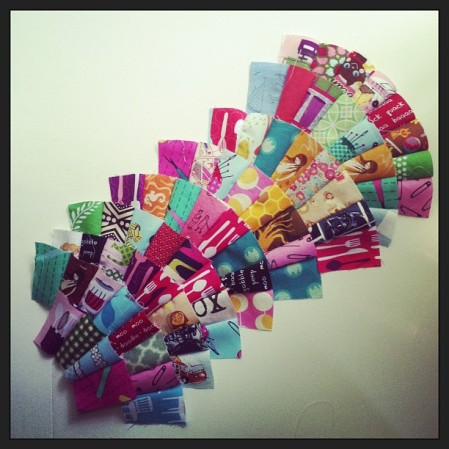
-Because my seam allowance is wider than it probably should be, I am piecing eight A pieces into my arcs, rather than 7, which is called for in the pattern. I like having the extra wiggle room and am able to cut any excess down to size once the block has been assembled.
-I had plexi-templates of the pattern pieces made by this Etsy shop, which was recommended to my by a friend who posts the most beautiful quilts on flickr. Many of you will know her as jwc. The templates have made cutting fabric quicker and easier and have been a huge help with fussy-cutting. Also, I can tell that the A and B pattern pieces are identical when I stack the templates on top of each other.
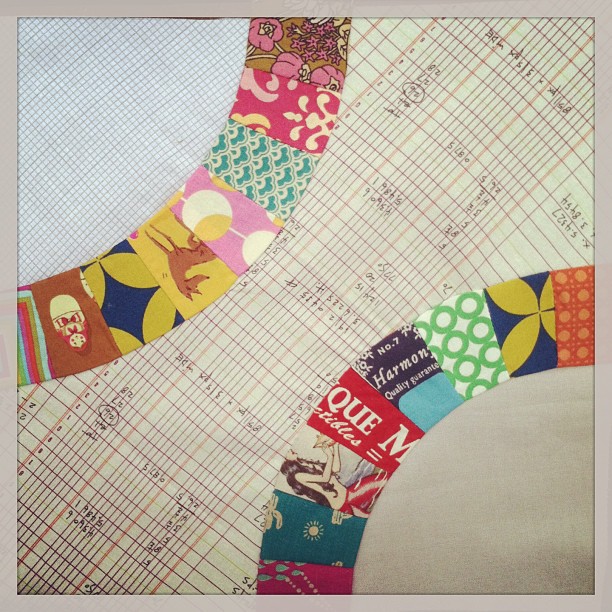
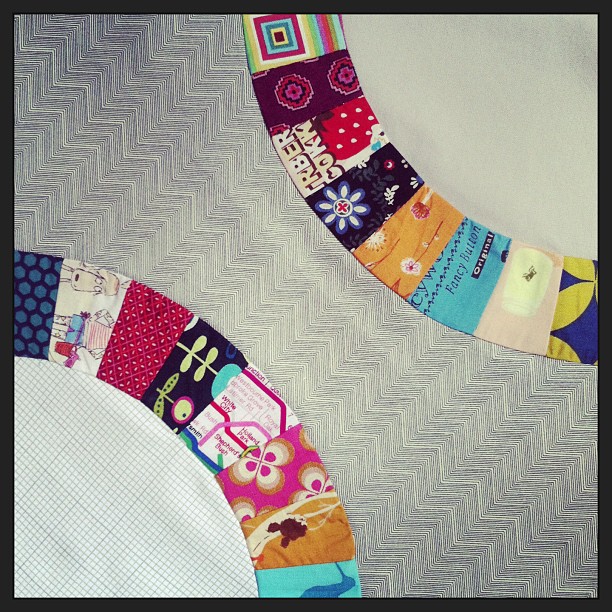
-Sewing the scrappy arcs onto the background pieces has been easier than I had thought. It is really important to line things up from the center, as the pattern instructs. Sometimes I pin the curves, sometimes I don’t. I don’ think one way is easier or saves more time than the other way.
-I’m pretty sure that I am going to have to cut down my blocks to significantly smaller than the 12″ squares the pattern calls for. I don’t think this is a flaw of the pattern. I think it’s because my seam allowance is a tad wider than it should be. Still, I think it would be great if quilt patterns gave you a half inch of wiggle room for trimming blocks. I sort of wish I had enlarged the pattern pieces a tiny bit when I ordered the templates to allow for this. Live and learn, right?
I really love this quilt. It’s going to take me good amount of time to finish, but it’s going to be gorgeous!